

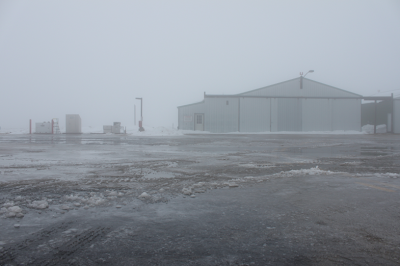
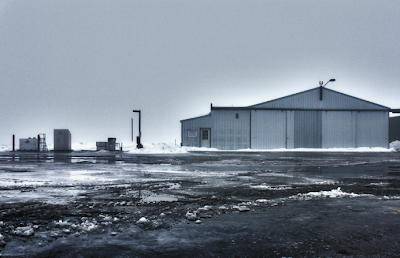


My son received a new camera for Christmas and we are in the process of learning its various functions and operations. Our first images were taken the other day and it was a miserable day for photography. The day was windy and very foggy, foggy to the point where we probably should have stayed home. But we came up with a plan and stuck with it. Because of the fog we already knew our pictures were going to turn out pretty bland, we would have no highlights and no darks, no contrast... just a lot of gray. So we came up with a plan to try some true HDR imaging to build contrast back into our images. We shot 5 images of each of the three shots and used photoshop's HDR pro to combine them. I was very impressed with the results and the easy use of photoshops HDR pro. The images look great and using up to five different exposures cut through the fog nicely. We shot both jpg and raw images, the jpg images did produce some color artifacting, the raw image did not, it was clean and sharp. I would only shoot raw images for HDR. After selecting images from photoshop's bridge, you go to tools > photoshop > merge to HDR, make your adjustments, (the "DETAIL", and the "EDGE GLOW" which includes Radius and strength are you most important adjustments) and then open in photoshop, at this point you have an HDR image, you now can treat that image like any other, opening this image in raw and making additional adjustments to fine tune your image before you output to a tiff. Our plan of learning the functions of a new camera actually turned into a lesson of thinking about your situational awareness and responding in an appropriate way to produce the best possible image. As you can see from these before and after examples it was a combination of camera technique and photoshop manipulation that that lead to a successful result.


